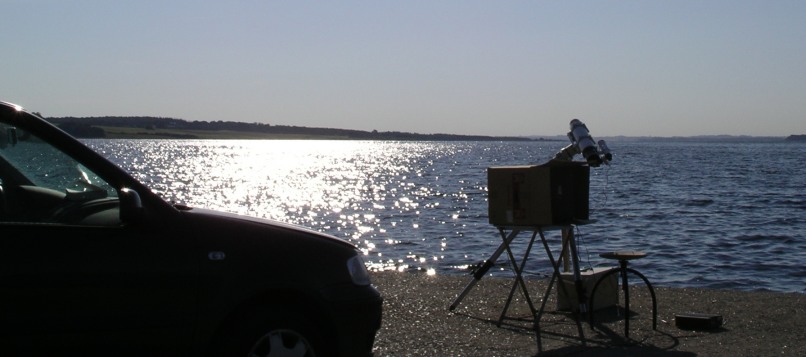
above: my solar imaging setup at the shoreline. I draw electrical power for the mount and computer from a car battery which is converted to 220V AC before feeding the usual power supplies.
Most important to get high resolution: water and magnification! You'll need BOTH. Water stays cool longer than land and thus helps minimize air turbulence. Magnification ensures that your camera can record the little details revealed by steady air. Read more below!
First, try to get these things under control:
And here are some issues that are important for achieving the highest possible resolution:
The equipment I use is a 60 mm H-alpha Coronado filter set (2.4 arcsec FWHM diffraction limited resolution) mounted on a F=640 mm refractor and a Phillips ToUcam. The resulting image scale is 1.8 arcsec/pixel. This is not enough to properly sample the full resolution capability of the H-alpha filter, according to the Nyquist theorem. To improve the sampling I use a x1.8 Televue barlow lens, thus giving 1.0 arcsec/pixel. Of course, such an increase of magnification requires that the atmospheric stability is good enough to allow moments of seeing which are diffraction limited. In many cases this cannot be achieved, such as during the afternoon when the ground has thoroughly warmed up and the air is seething and boiling. This is why imaging during the morning and preferably also over a large body of water is essential. Denmark is a small country, just 400 km across, but we have a shoreline which is 40000 km long, thus providing easy access to shorelines with the correct orientation.
above: my solar imaging setup at the shoreline. I draw electrical power for the mount and computer from a car battery which is converted to 220V AC before
feeding the usual power supplies.
For acquisition I use the software (Vrecord) that comes with the webcam. I typically take an avi of the disc and one of the background,
to get prominences. Webcam settings: 5 FPS, brightness=100%, gamma=10% (50% on
prominences), b&w mode on, 1/2500 sec (1/100 on prominences), 640x480 pixels. For a typical sequence I usually
take a 120 second avi, resulting in ~900 individual frames. With the webcam settings given above the image will look very dark on the
monitor. In my experience this is needed to avoid detector saturation that will give the sun a 'flat' appearence. During focussing you
should use whatever settings that give you the most pleasing real-time image.
Here's my main page where you can see more of the pictures I have taken so far.
Comments greatly appreciated! (mikael@leif.org)